

")


")


Hotline Order:
+91 9727278672 / +91 8238235003
Email ID:
info@shipautomationparts.com
Free Shipping apply to all orders over $299
Safe & securely shopping
20 Day Returns in case u change your mind.
UniOP eTOP05
₹93,680.00 Original price was: ₹93,680.00.₹65,385.00Current price is: ₹65,385.00.
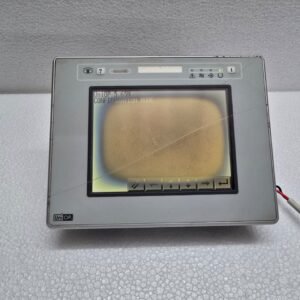
The UniOP eTOP05 is a classic industrial HMI (Human Machine Interface) from the eTOP series, manufactured by Exor. It was widely used throughout the 2000s and 2010s as a compact, reliable interface for PLCs in various manufacturing environments.
While it is now considered a legacy product, its robust hardware means thousands are still in active service today.
Share:
 UniOP eTOP05
₹93,680.00 Original price was: ₹93,680.00.₹65,385.00Current price is: ₹65,385.00.
The UniOP eTOP05 is a classic industrial HMI (Human Machine Interface) from the eTOP series, manufactured by Exor. It was widely used throughout the 2000s and 2010s as a compact, reliable interface for PLCs in various manufacturing environments.
While it is now considered a legacy product, its robust hardware means thousands are still in active service today.
1. Key Technical Specifications
The eTOP05 is a 5.6-inch monochrome display, optimized for text-heavy interfaces and basic machine control.
| Feature | Specification |
| Display Type | 5.6-inch Blue Mode Monochrome LCD |
| Resolution | 320 x 240 pixels (QVGA) |
| Touch Panel | Analog Resistive |
| Backlight | CCFL (Cold Cathode Fluorescent Lamp) |
| Memory | 512 KB Flash (for project data) |
| Input Power | 24V DC |
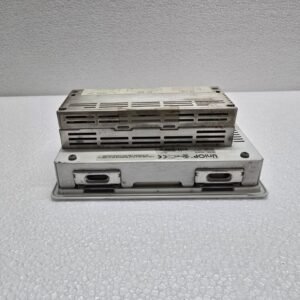
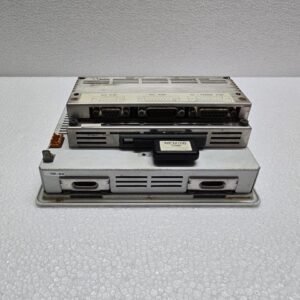
2. Communication and Connectivity
The eTOP05 is highly versatile due to its support for a massive library of PLC protocols. It features a modular communication approach:
-
PC/Printer Port: A 15-pin D-Sub connector used for programming the unit or connecting a serial printer.
-
PLC Port: Supports RS-232, RS-422, RS-485, and 20mA Current Loop.
-
Optional Modules: The rear of the unit has a slot for TCM (Technical Communication Modules) to allow for Ethernet, Profibus, CANopen, or DeviceNet connectivity.
3. Programming Software: JMobile vs. Designer
The eTOP05 is primarily programmed using Designer 6 (often referred to as UniOP Designer).
-
Legacy Support: It does not support the modern JMobile software used by newer Exor/UniOP panels.
-
Protocol Library: One of the strengths of Designer 6 is its ability to communicate with almost any PLC (Allen-Bradley, Siemens, Omron, Mitsubishi, Modbus, etc.) using dedicated drivers.
4. Common Maintenance Issues
As these units age, two specific hardware components are likely to fail:
-
The Backlight (CCFL): If the screen is powered but remains dark (you can see faint text if you shine a flashlight on the glass), the CCFL bulb or the high-voltage inverter has failed.
-
The Touch Overlay: If the screen responds in the wrong place or not at all, the resistive overlay may be “pitted” or worn. You can attempt a recalibration through the system menu.
-
The Internal Battery: There is a small lithium battery inside used to maintain the Real-Time Clock (RTC). If the HMI loses its date/time settings after a power cycle, the battery needs replacement.
5. Accessing the System Menu
To configure the IP address or perform a touch calibration, you must enter the Internal Setup Mode:
-
Power off the unit.
-
Power on while touching the screen (typically the top-left corner, though this varies by firmware).
-
The “System Menu” will appear, allowing you to change communication parameters or clear the project memory.


Reviews
There are no reviews yet.